Admin accounts
Creating admin accounts, the difference between the two roles, handling passwords, and disabling accounts
This page manages the people who can sign in to the admin; it has nothing to do with visitors who chat.
Two things to know first
- Only Owners can see this page. The sidebar for the Admin role does not show "Admin accounts", "MCP API keys" or "Cleanup & backup"
- Accounts can only be disabled, not deleted
Two roles
When adding or editing an account, choose Admin or Owner. The difference:
| Role | Can do |
|---|---|
| Owner | Every admin feature, including managing other admin accounts: creating accounts, changing other people's roles, setting passwords for them, and disabling them; can also use Cleanup & backup |
| Admin | The general admin features, but cannot manage accounts at all, and cannot see the three pages "Admin accounts", "MCP API keys" and "Cleanup & backup" |
Keep at least one Owner on the site; otherwise no one can create or adjust admin accounts any more.
What the list shows
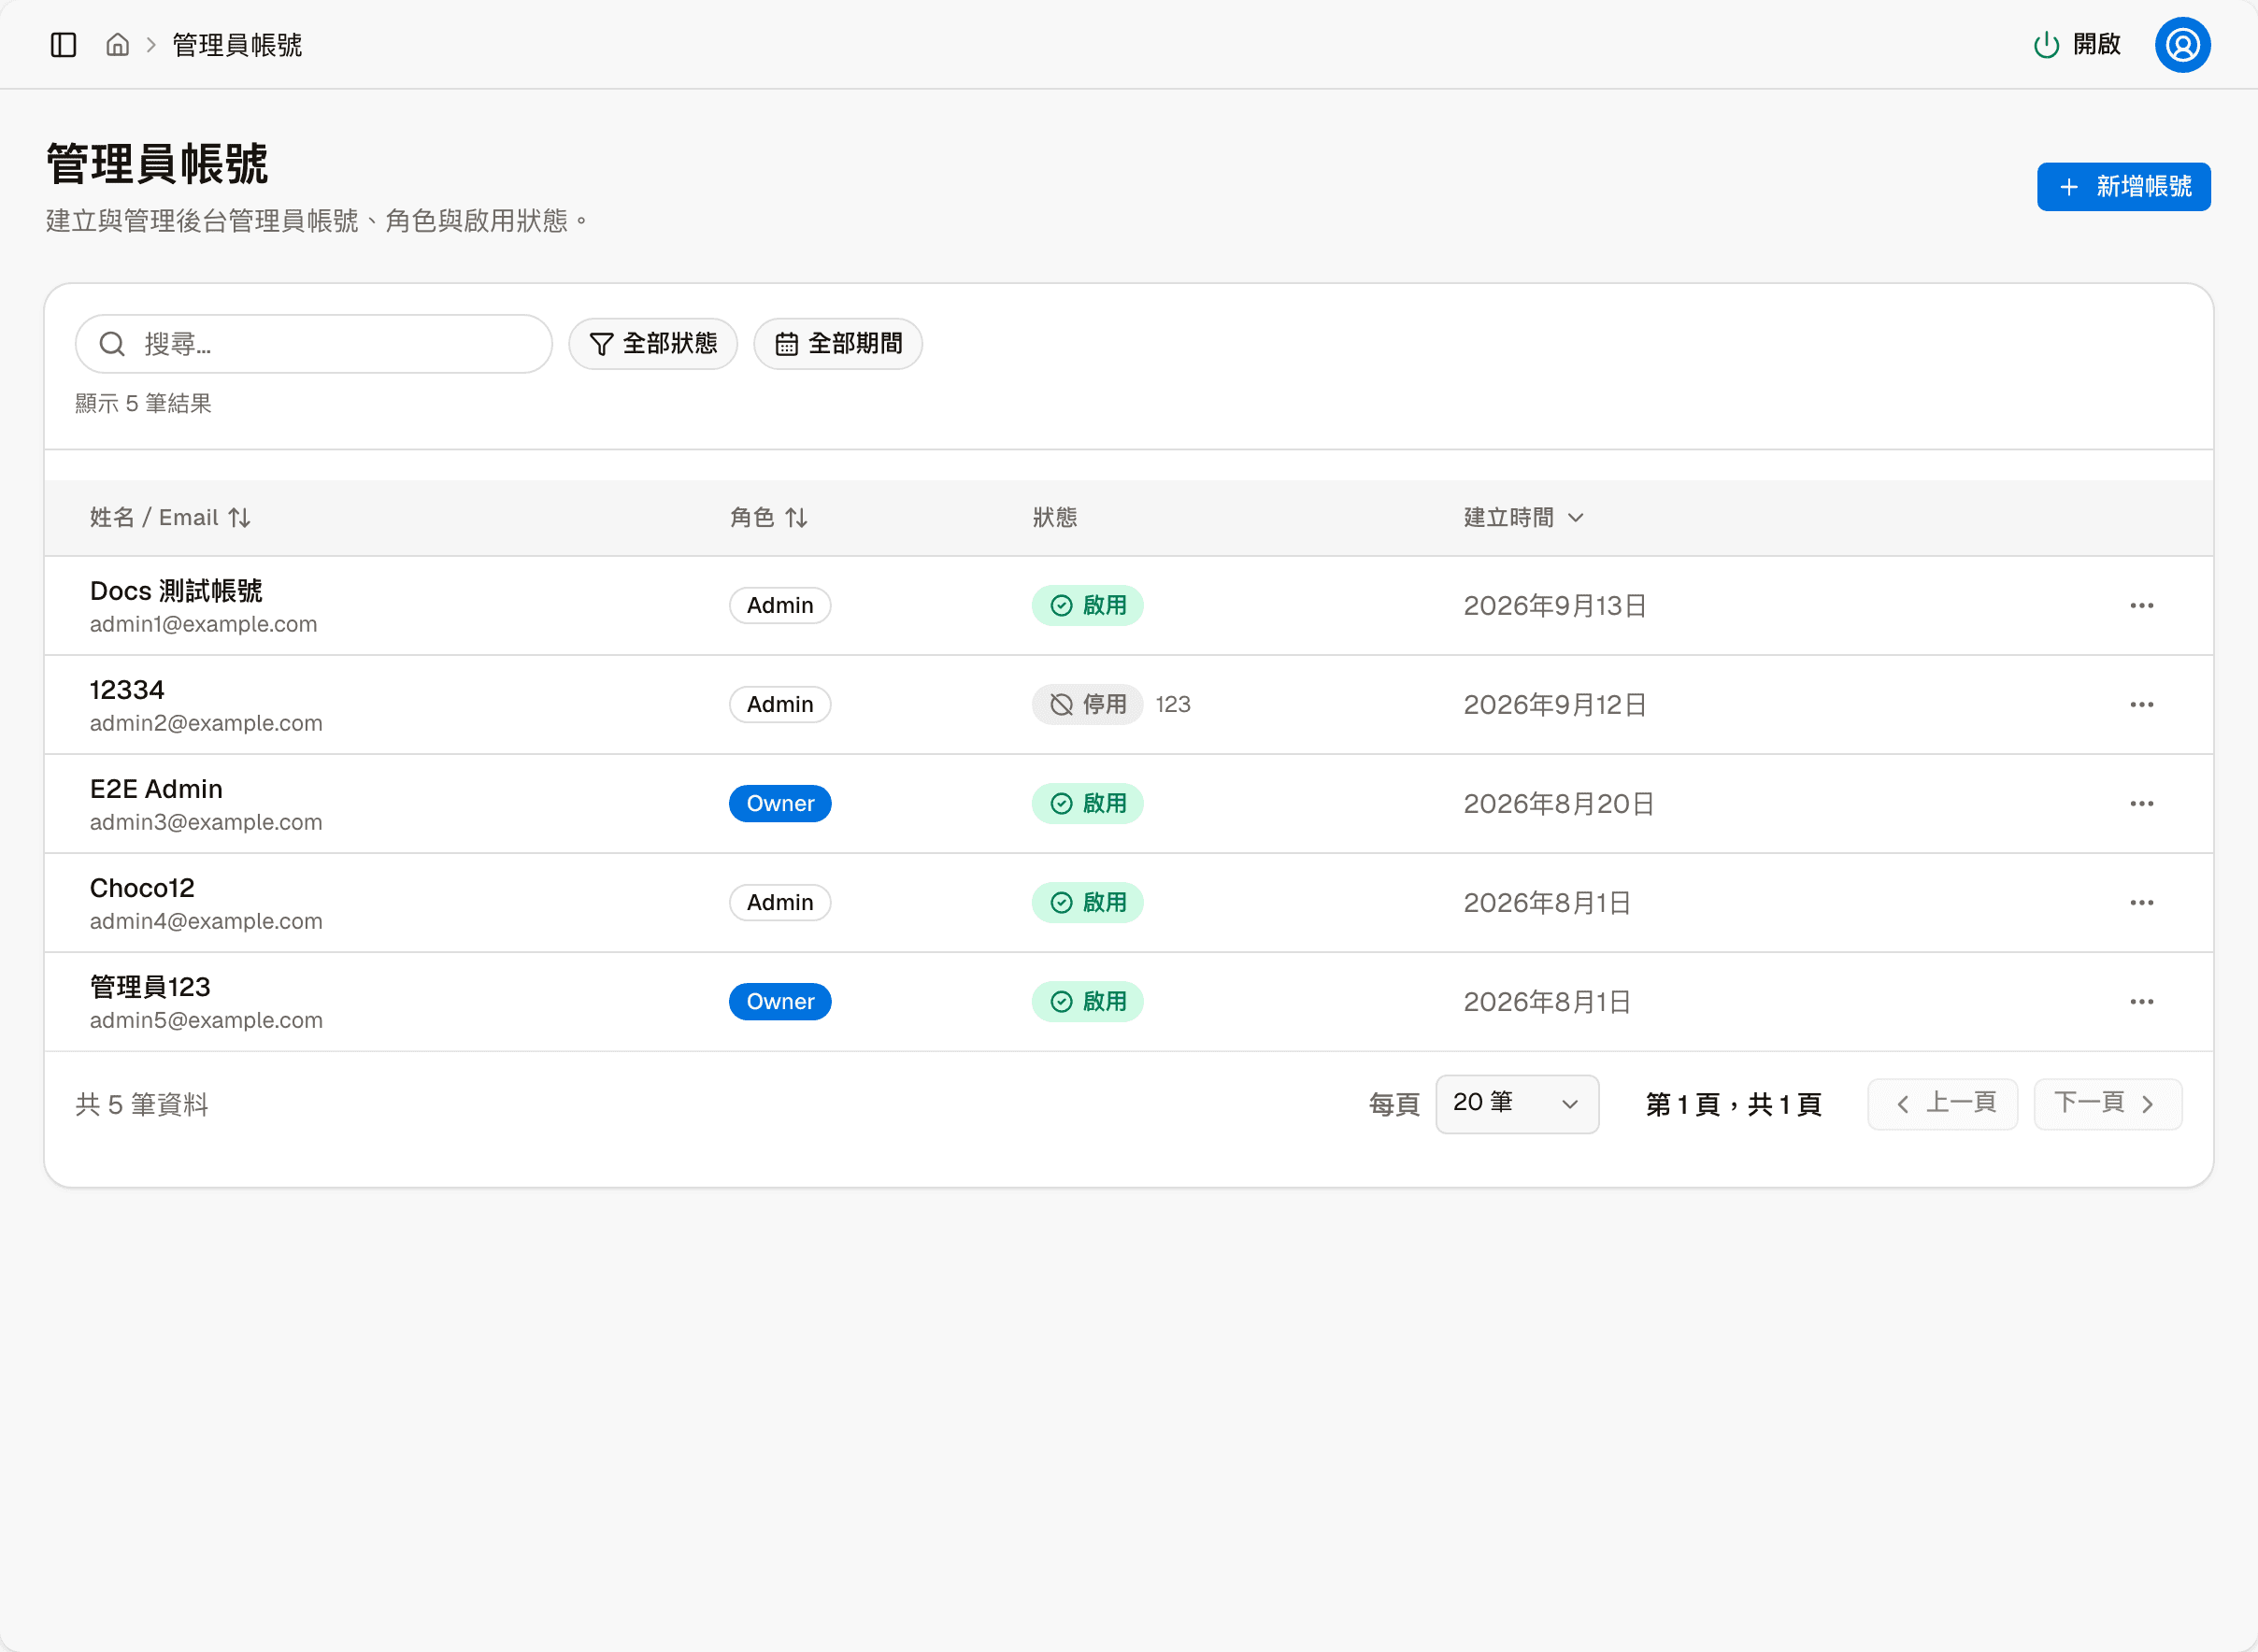
Each entry shows the name and email, role, status and created time. The status is enabled or disabled; for a disabled account, the reason entered when disabling it is shown next to the status.
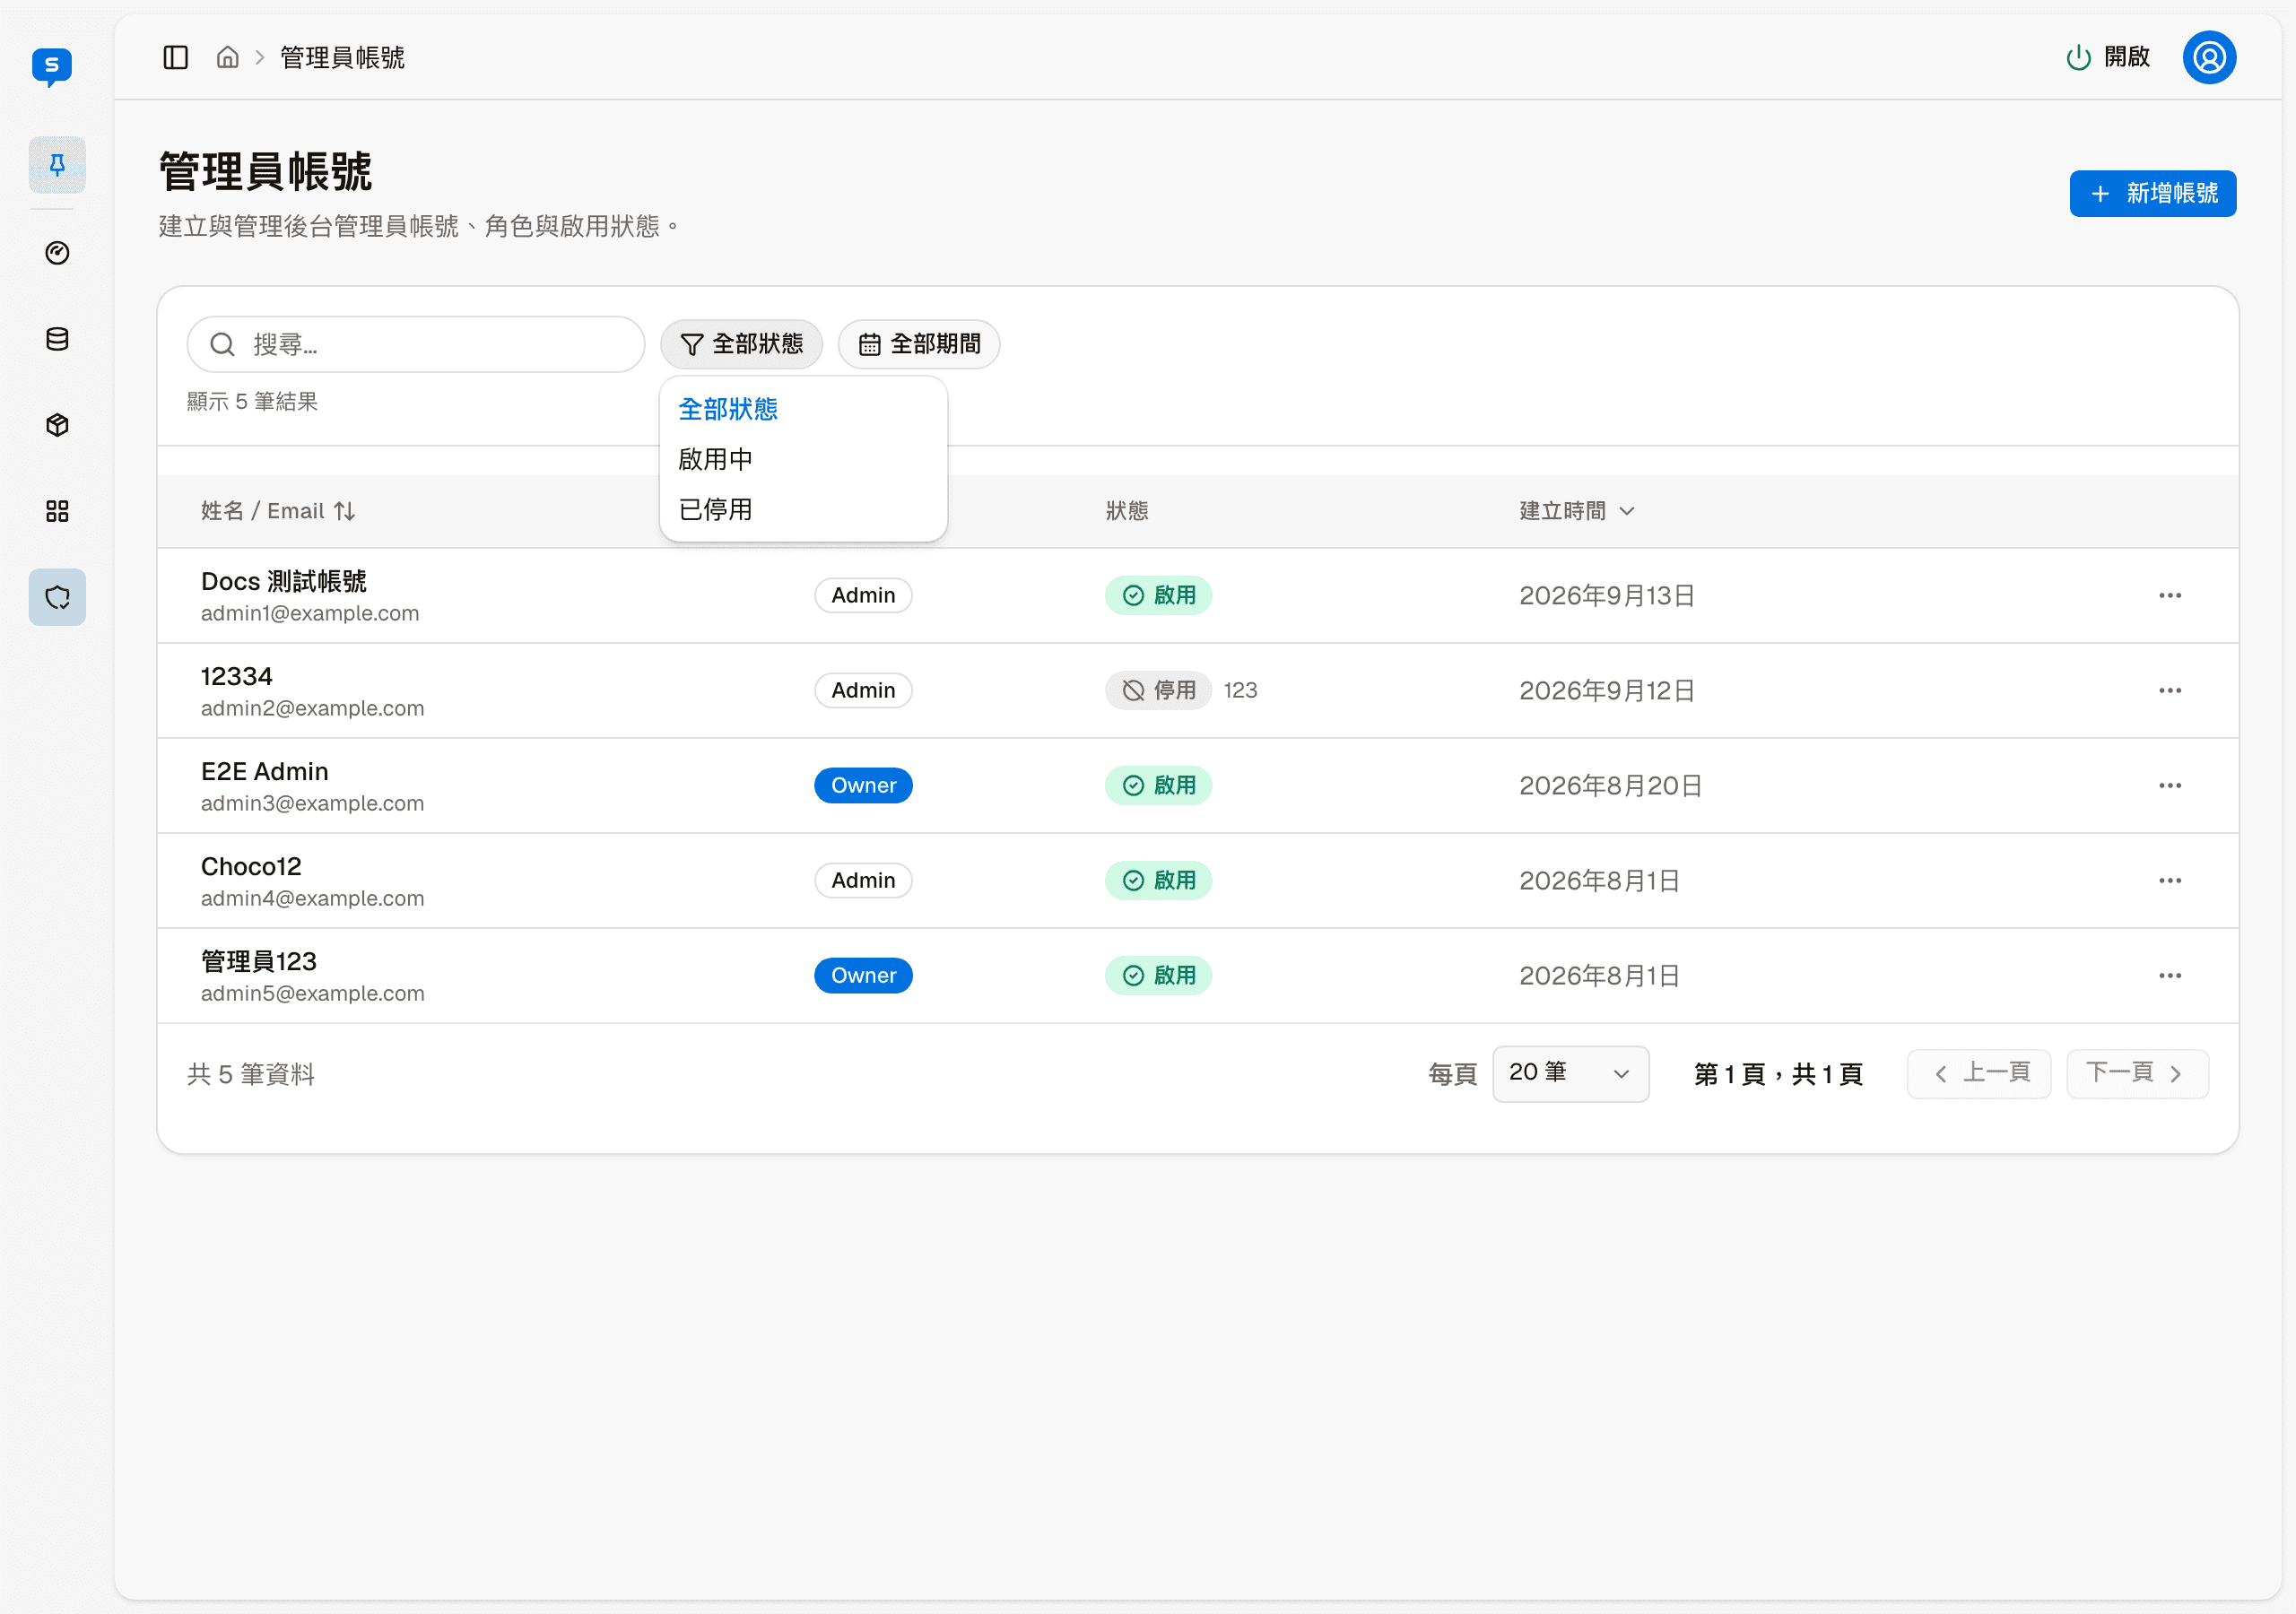
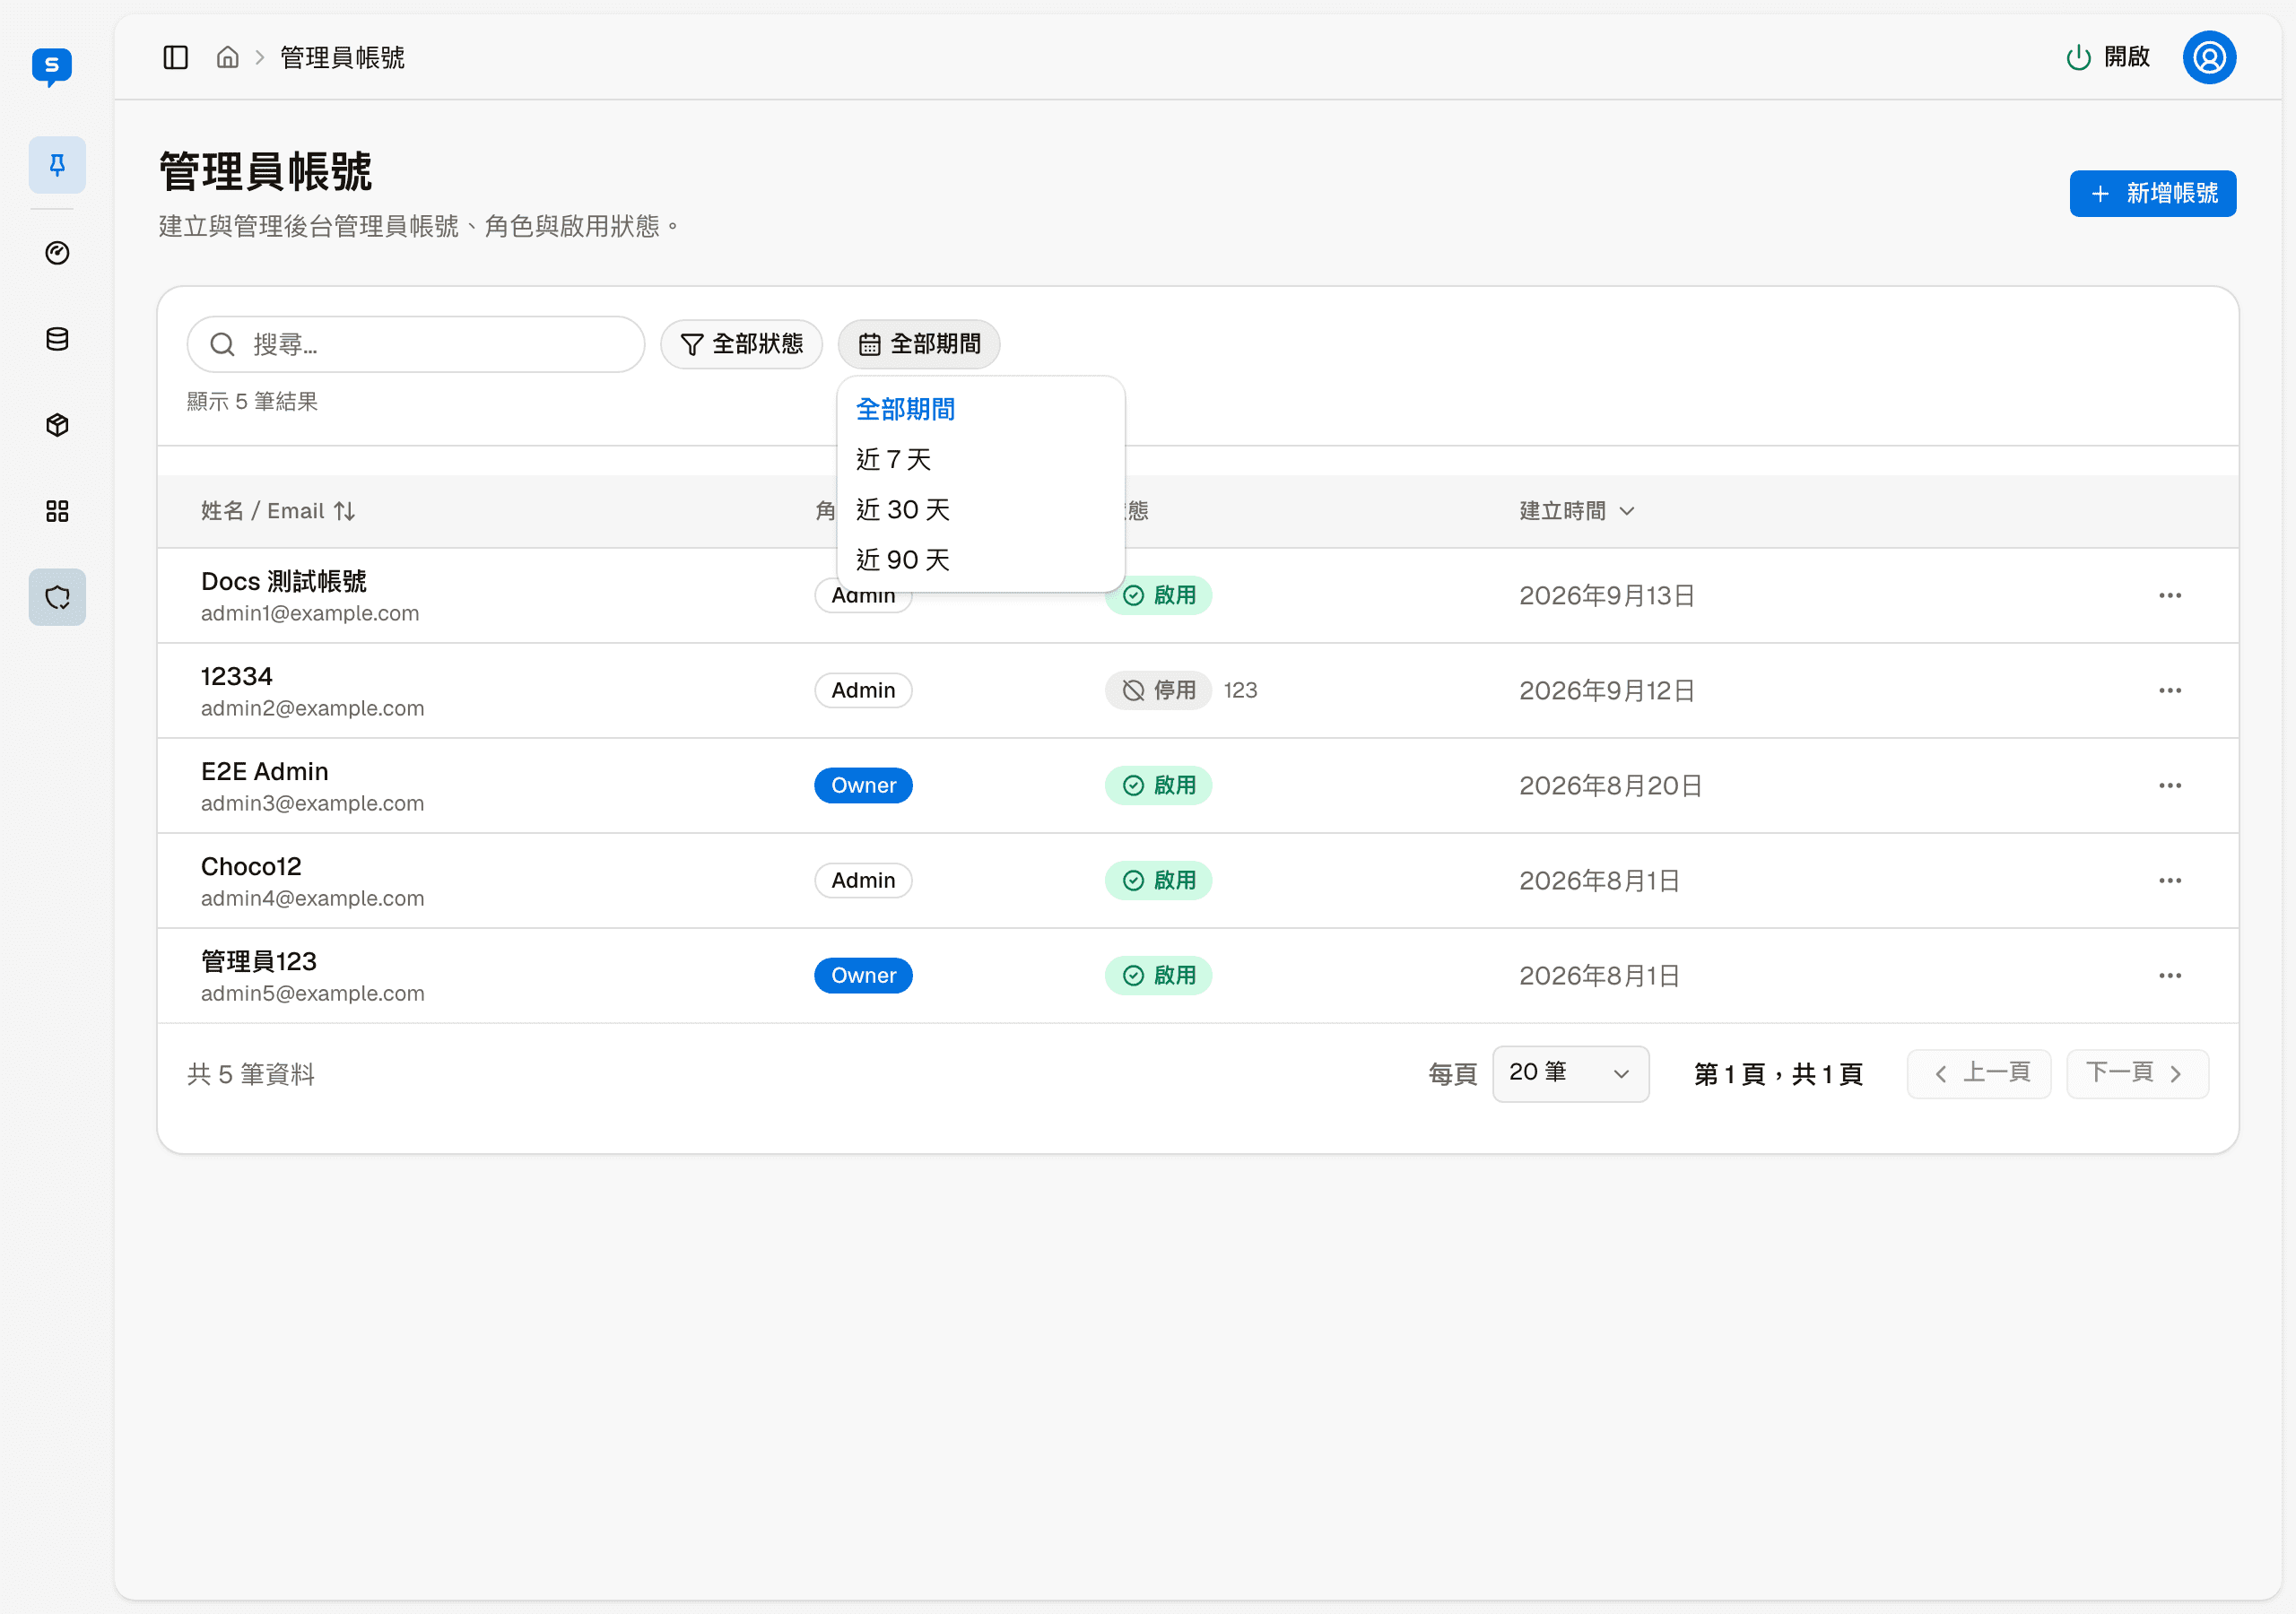
Above the list you can search, and filter with "All statuses" (Enabled, Disabled) and "All time" (Last 7 days, Last 30 days, Last 90 days). Name / email, Role and Created at can be sorted.
Add admin
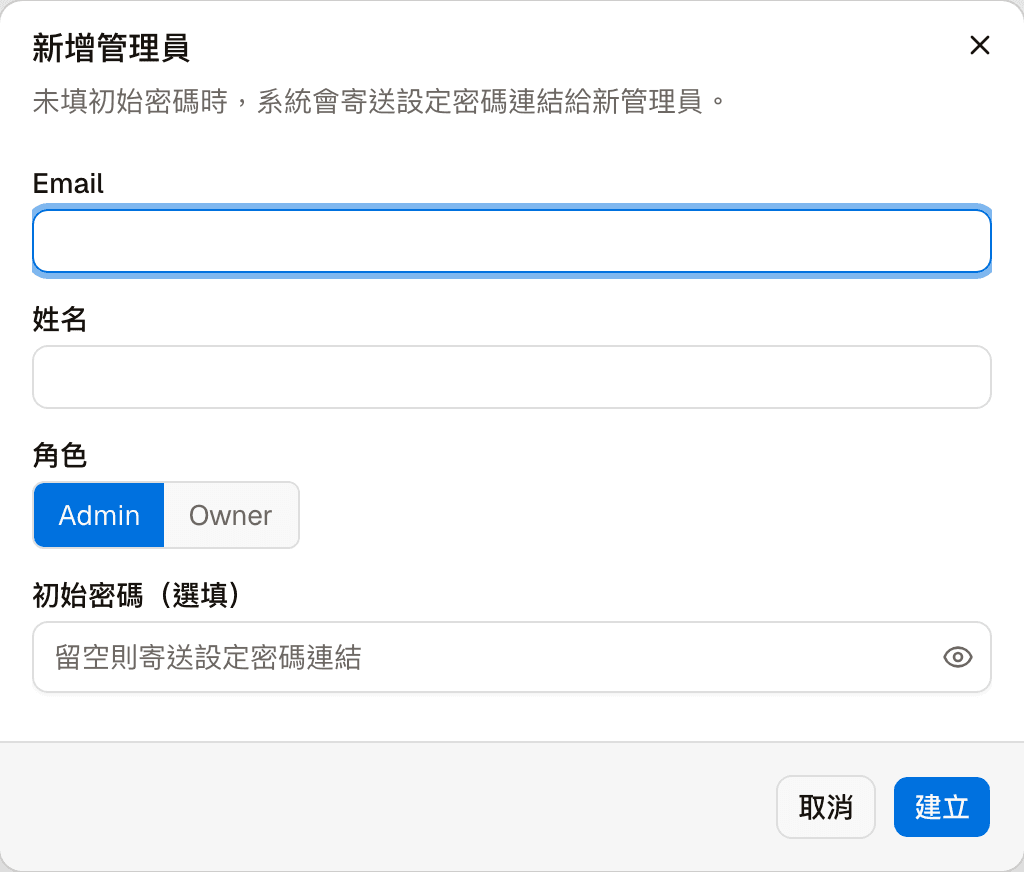
Fill in the email and name, and choose a role. The initial password is optional, and this field decides how the person gets their password:
- Left empty: the system emails them a link to set their password, and they set it themselves
- Filled in: the account is created with the password you entered, and you need to tell them the password yourself
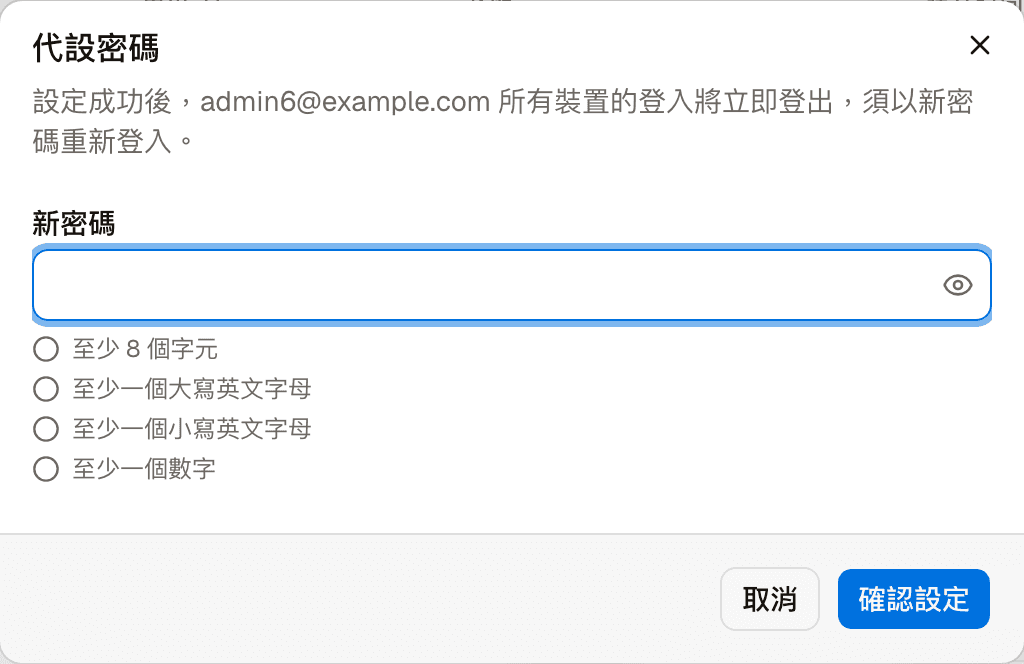
The password field has a show password button so you can check it for typos before submitting. Once you start typing a password, the password rules are listed below: at least 8 characters, including an uppercase letter, a lowercase letter and a digit.
Leaving it empty is the easier way
When left empty, you never handle the other person's password; they set it themselves from the link. If you fill in an initial password, you also have to find a safe way to tell them what it is.
What you can do with each account
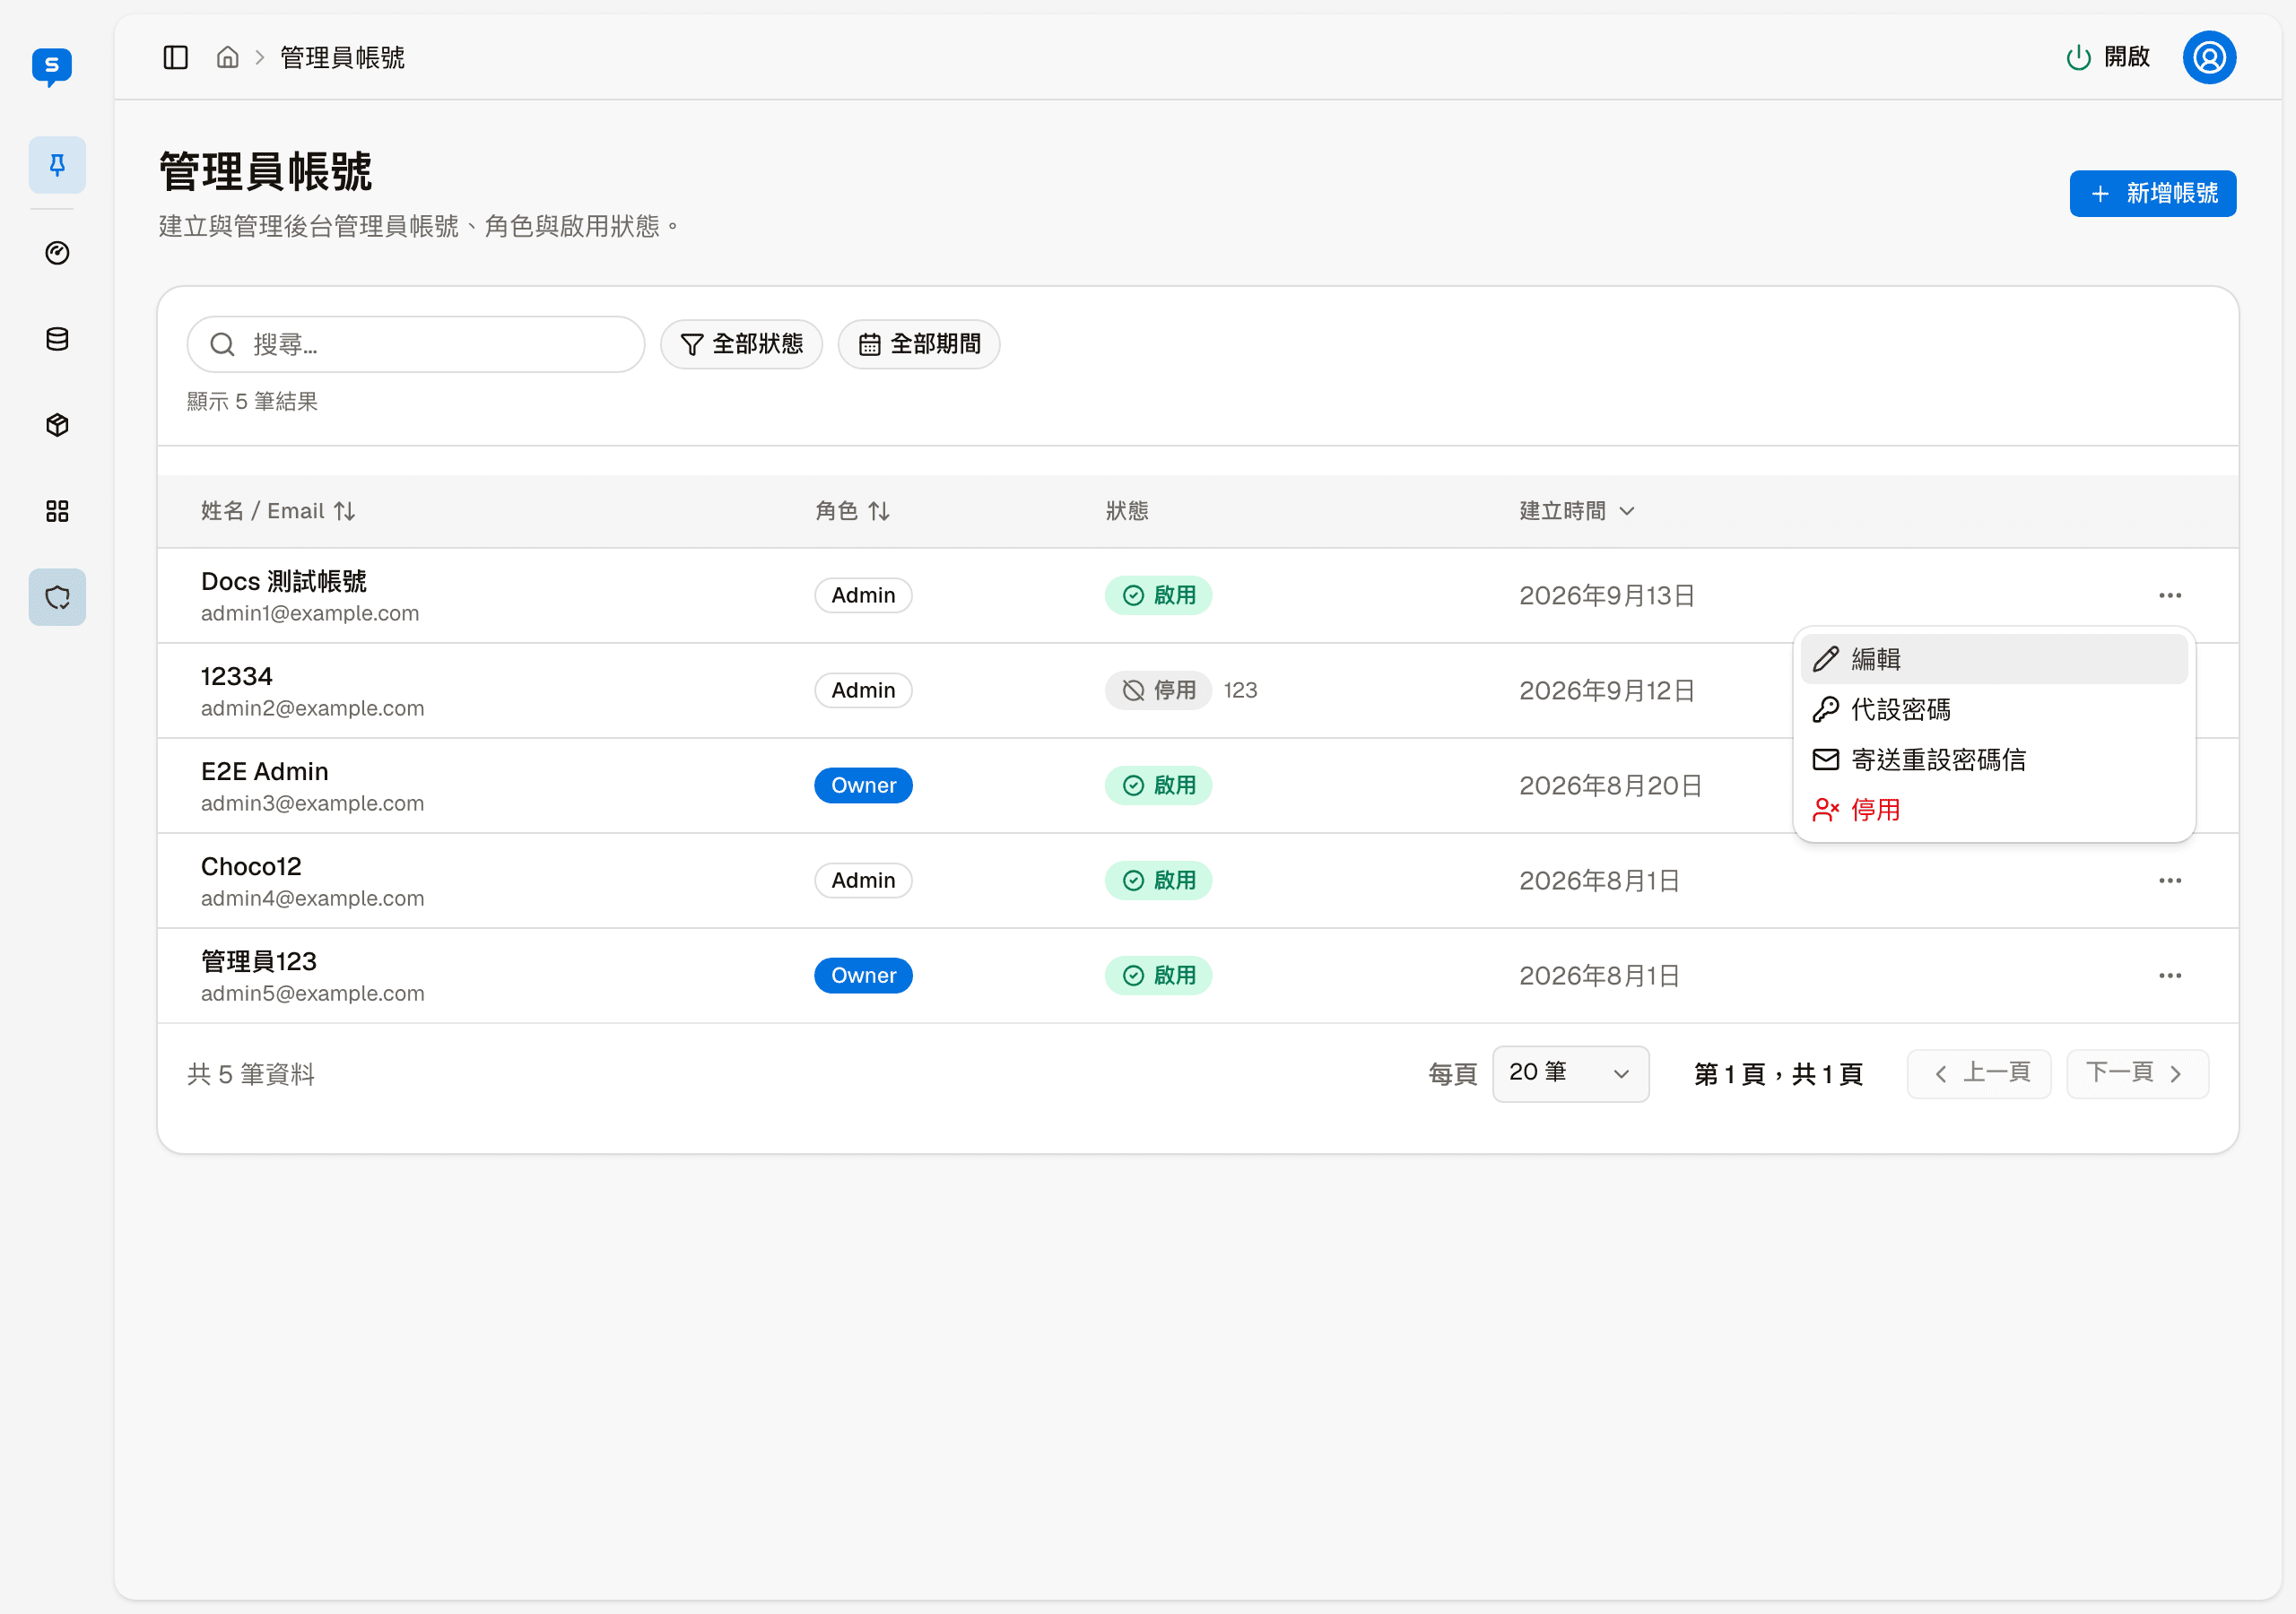
Open "More actions" on the right of each row:
| Action | Description |
|---|---|
| Edit | Change the name, email or role |
| Set password | Set a new password for the person directly |
| Send reset link | Emails them a link to set a new password themselves |
| Disable | The account can no longer sign in once disabled |
For a disabled account, the last item in the menu becomes "Re-enable".
There is no delete. Accounts can only be disabled and never disappear from the list — so that past actions in the audit log can still be traced to the right person.
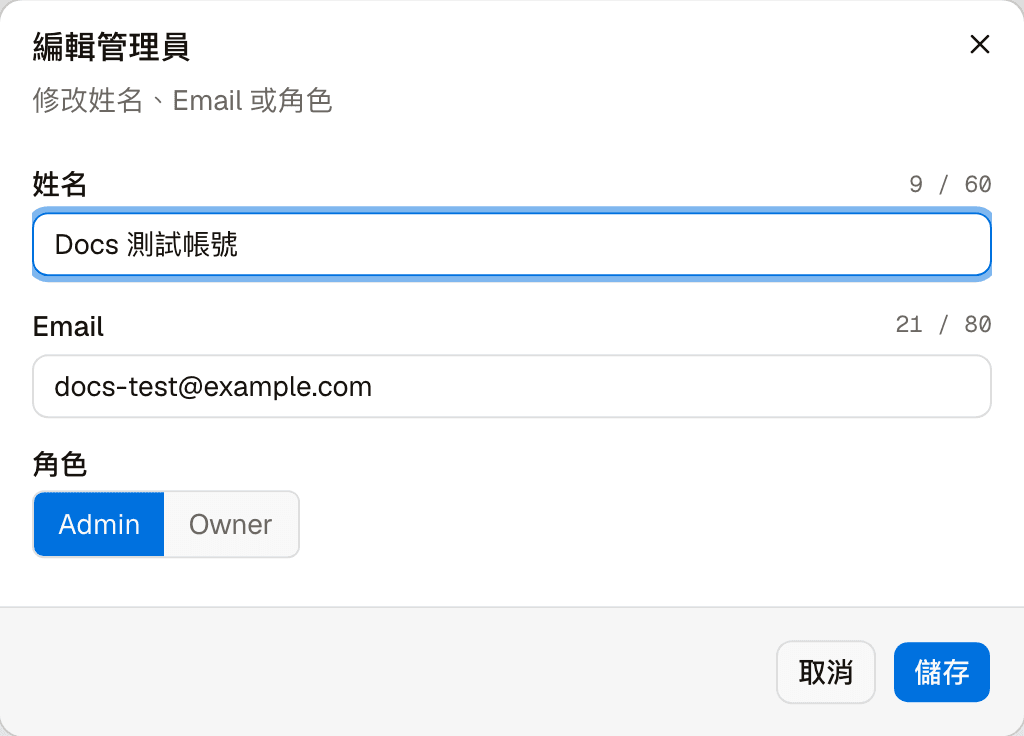
Edit
You can change the name, email and role.
Set password
Enter a new password (same rules as when adding an account), and it takes effect when you click "Confirm". Once set, the person is immediately signed out on all devices and needs to sign in again with the new password.
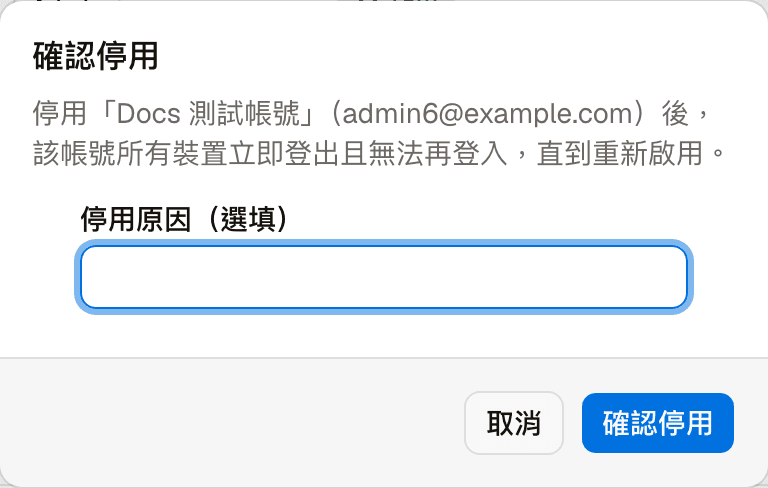
Disable and re-enable
Clicking "Disable" opens a confirmation dialog first, where you can optionally enter a reason; if entered, it is shown next to the status in the list. After you confirm, the person is immediately signed out on all devices and cannot sign in again until the account is re-enabled.
"Re-enable" takes effect as soon as you click it, and the account can sign in again.
Settings
The AI's identity and tone, the default language, the chat widget's appearance, and the switches for the chat service, automatic reply texts, anonymous visitors and voice input
Cleanup & backup
Find old data that can be cleaned up, download a backup before deleting it, and download six kinds of data in full as CSV